
Software
Blogger
In my opinion, blogger is the main limiting factor when it comes to digital technology. The interface for creating posts is clunky and slow, and the WYSIWYG editor is hugely inaccurate when handling multimedia content. Despite this, I used it to present the majority of my coursework. I did this because it is reasonably convenient and easy to navigate for the reader.Google G Suite


Google Docs
Google Docs is useful (again) for two people accessing the file concurrently - it allowed both me and my partner to edit documents simultaneously. This allowed for significantly more straightforward collaboration, a feature that isn't currently offered with competing products such as Microsoft Word.Google Sheets
Google Slides
SurveyMonkey

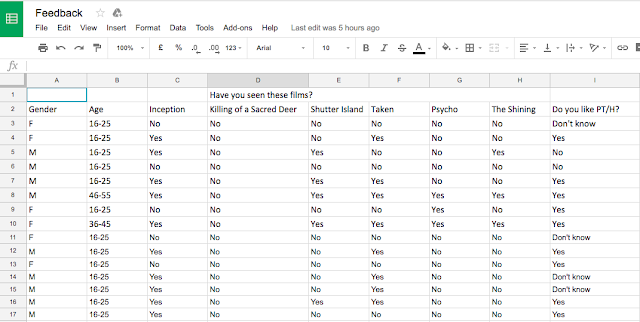
We used survey monkey for collecting audience feedback data - this was useful for shaping our product as we went. Both before and after producing our media product we took audience surveys using SurveyMonkey.
Celtx
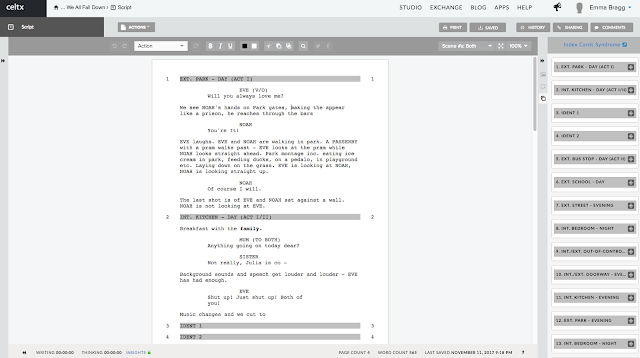
Celtx is an online collaborative script, shot list, and props and location breakdown editor that we used for our trailer. Celtx allowed a professional-looking document at little to no cost - however, we ran into a problem at the end of our usage of the software. We didn't realise, but we had run out of a free trial. Thankfully we had already downloaded the necessary documents so did not lose any time or resources.
Incompetech
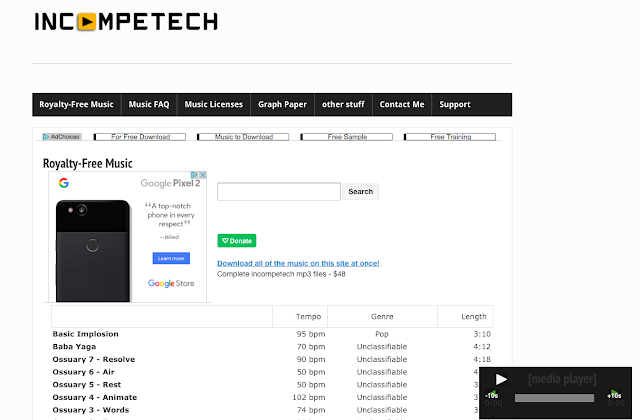
I used incompetech.com to get trial music for use in drafts of the trailer - they have a very large variety of completely royalty free music free of charge organised by genre, feel, length, instrumentation, tempo, and mood. I also made use of the YouTube Audio Library for royalty-free sound effects for the same purposes. You can hear some of these in earlier drafts!
Dafont

Dafont.com is where I found inspiration for the fonts I created throughout A2. I would find a font I liked, attempt to copy the style in Illustrator using a graphics tablet, and edit the style to my liking. My partner also used fonts from Dafont.com for some of the intertitle fonts seen in our trailer. We created brand cohesion using fonts from dafont.com from last year (True Lies) to show that it was from the same production team, as stated in the intertitle.
YouTube
YouTube is how we shared our videos, a single place to post rough cuts, final films, animatic and director's commentary. We created our own channel, OYU productions, to appear more professional in our distributive attitude. We used YouTube comments to gather feedback on our rough cuts and final film, which fed back in to the future cuts of the media product.
Premiere
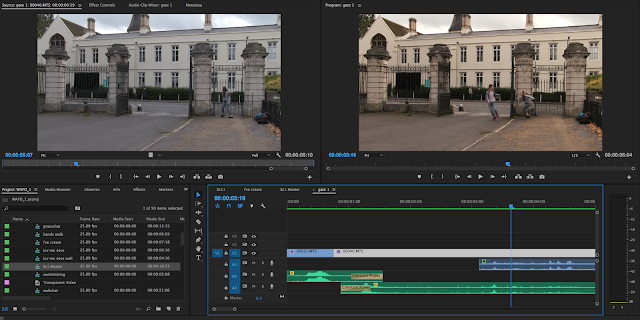
Premiere was the editing powerhouse of this project - it's where the whole thing was built and assembled from the ground up. With the exception of a few shots, all of our editing was done in this comprehensive non-linear editor. At AS we used Final Cut Pro but I expressed my discontent with this at the time and as a result, this year I was allowed to use Premiere Pro. It is by far my favourite NLE. Sequences are insanely useful and the ability to link with other Adobe products, such as After Effects, makes it incredibly easy to collaborate and work across an entire suite of products as the Creative Cloud suite is designed to do. Premiere provides a large amount of creativity as regards colour correction - while Lumetri and the three-wheel colour correction workflow can take some getting used to, they've allowed me to achieve a look I really liked. This is often a problem for me; I rarely like my own end products so Premiere has given me the freedom I desire in this regard.
Garageband
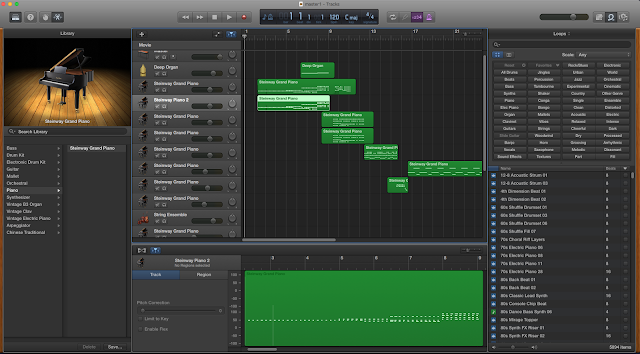
Composing the score for the trailer was a breeze thanks to Apple's semi-pro MIDI editor Garageband. It allowed me to import exported footage from Premiere (sadly no Adobe integration - however, Garageband is part of the much-less-better-integrated Apple Pro suite of applications, of which my oft-objected-to arch-nemesis Final Cut Pro is a member) and synchronise with music directly, once the master edit was completed.
Illustrator
Adobe Illustrator is, without a doubt, my favourite new application off the back of this coursework. It allowed me easy integration with the graphics pen I used (as does the rest of the Adobe suite, for that matter - another pro against Apple's). I used it primarily for creating and editing fonts for use in the trailer, which I didn't feel I was able to last year. I also used Illustrator to create the 'scribble' effect used on my magazine cover, which would have been immensely difficult otherwise, as Illustrator allowed me to trace over text and easily colour it in by hand as seen.
After Effects

Adobe's After Effects remains one of those programs that is indispensable for random, unforeseen tasks. For example creating titles - the (relatively) easy key-framing of literally any property of any object in a scene makes it easy to make titles do what you want them to do. I used it to create both idents at the start of my trailer and to correct part-by-part some scenes that required heavy colour correction or emphasis not easily achievable in another program. You can also see in the screen capture above an attempt at some super-imposition of cracks onto her face, however this proved too difficult for me to do in the time given.
Photoshop

Adobe Photoshop was used principally for my magazine and poster assembly, as it was easiest in this program to move and rescale things, as well as nest image compositions within each other to increase ease of editing.
Prezi
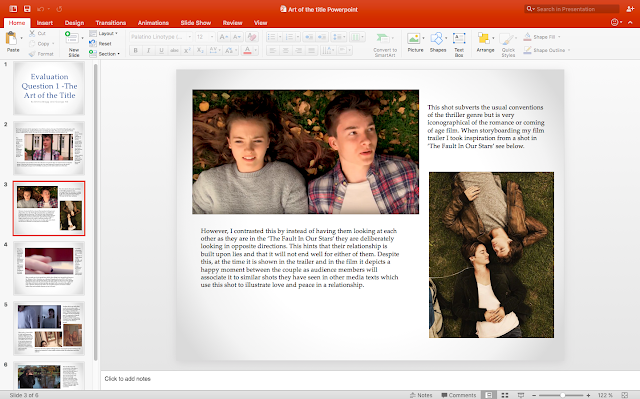
I used Prezi for data presentation in my evaluations, as it is a fun and engaging format not often seen in presentations. It is easy-to-use for the reader but provides a rare format. Prezi's can take a while to make due to the occasionally clunky or nonsensical creation interface, but the payoff is well worth the effort as it enables me to zoom around looking specifically at parts of images that I want to draw to the reader's attention.
Hardware
Cameras
80D
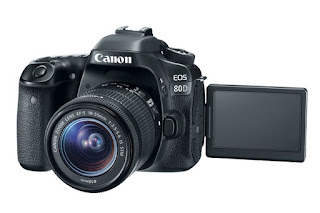
The Canon EOS 80D is an APS-C crop-sensor camera. We chose it because we felt it would offer greater freedom over especially depth-of-field and exposure. The interchangeable-lens camera, while not a huge upgrade over the G25 below which we used last year, offered us a range of options to choose from in lenses.
G25

The Canon LEGRIA HF G25 prosumer (in this case standing for professional-grade consumer, meaning high-end) fixed-lens 1/3" sensor camera is an excellent choice for any budget production. I just happened to have one, and I knew already how to use it, so it made sense to use in parts of this production where it was more convenient than another option.
iPhone SE
The iPhone SE, while an unconventional choice for camera, offered a greater flexibility in frame-rates and positioning. We used it only for a few shots where slow-motion or very difficult-to-reach places were required, and only one of these shots made it into the film.
Sound
Tascam DR-07 mk II
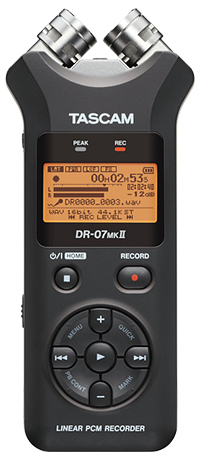
This DAR is a fairly standard budget option for recording sound to an external device. It's bigger brother the DR-40 was also used at one point in the production to record sound effects - the bidirectional microphones made mixing sound in post-production much more engineer-friendly as I had more freedom over how to mix down my channels.
Rode NTG-2

Again a standard, the Rode NTG-2 is a very beginner-friendly microphone. It requires no phantom power (which the DR-07 can't provide anyway) which is useful as it means batteries last longer on all devices. It is a highly directional supercardioid microphone, meaning that it took some skill to position and distance it correctly. However the result is some very crisp and sharp sound that I'm actually quite pleased with. We used it in conjunction with Rode's own boom pole for ease of holding.
AKG Y50
The AKG Y50s were my least favourite part of the sound workflow. The over-ear headphones were a little uncomfortable to wear for long periods (as the over-ear format is famed for) but the closed back makes for as good a studio experience as you can get for the format. The frequency response is far from flat with a raised bass but this just meant I mixed for less bass than I thought there should be, by ear, which turned out pretty well in this case.
Ancillary
Tripods
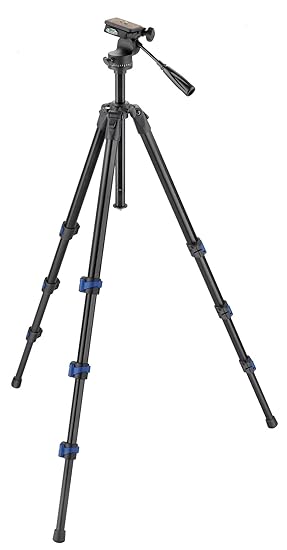
We used a number of different tripods, as each one we used had a different problem - on one there was no spirit level, on another the leg kept falling off, on another there was no fluid pan head. However, we got by using a combination of different tripods, playing it by ear a little and trying to have the correct tripod for the correct shot, and in the worst case adapting our shooting style for the tripod we had. This was less than ideal and in future is definitely something I'd work on.
No comments:
Post a Comment